13.2 STORAGE
(b) The New Stock button
You can use this button to scan for nearby products and then attempt to add them into the storage unit. This is done by the storage checking other storage locations that have share mode enabled (the default) and also by checking with any exchange units in the region. If the product is found in any of those locations it will be added to this storage unit. This is an easy way to change what a storage unit holds but is limited to only be able to add in products that already exist somewhere else in the region.
Note that the item needs to have P; at the start of the description for it to be recognised as a product. This is the normal state for any product that has been rezzed from a machine, plant etc. But if it is a new item you have made, simply set the description to P;
(b) Adding a product to the SF Store Barrel
Probably the easiest way to make storage for a new product you have created is to modify the existing SF Store Barrel. You can also pick up some empty ‘template’ storage boxes in the Mintor shop. The storage script automatically configures itself for any product in its inventory, so if you have a new product, just place a copy inside the SF Store.
Example
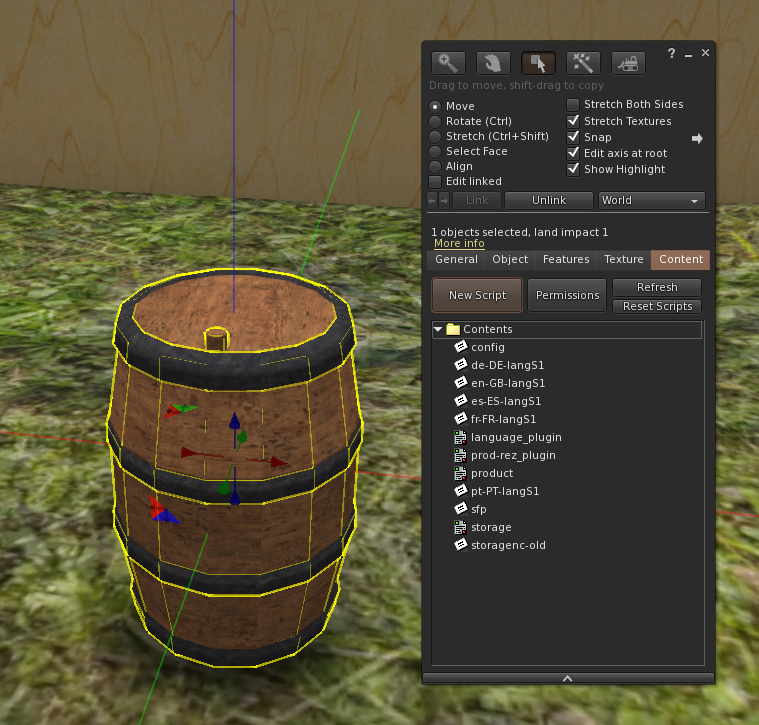
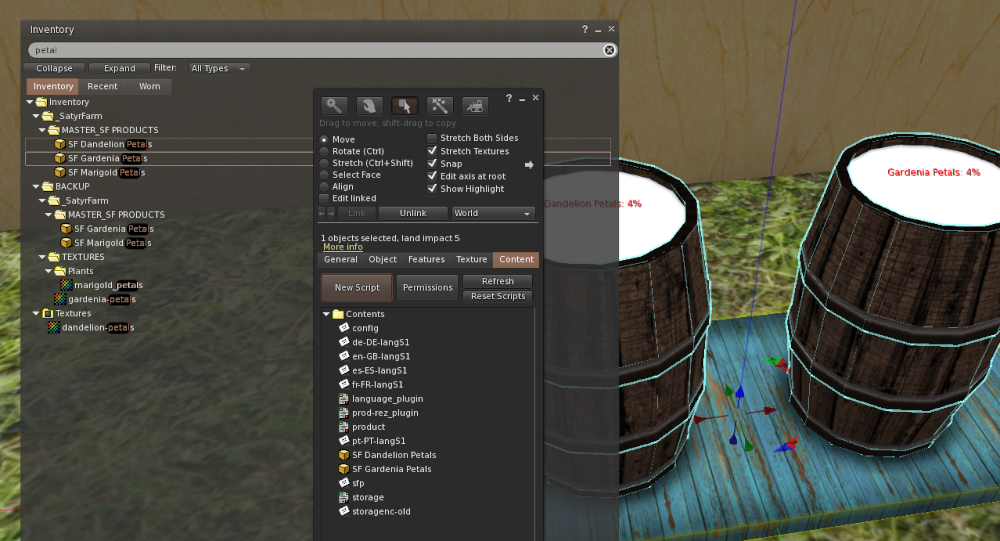
We will start by rezzing one of the simple storage barrels. Right click to edit and take a look at the Contents tab. You will see various scripts and notecards which are covered in more details in chapter 14.
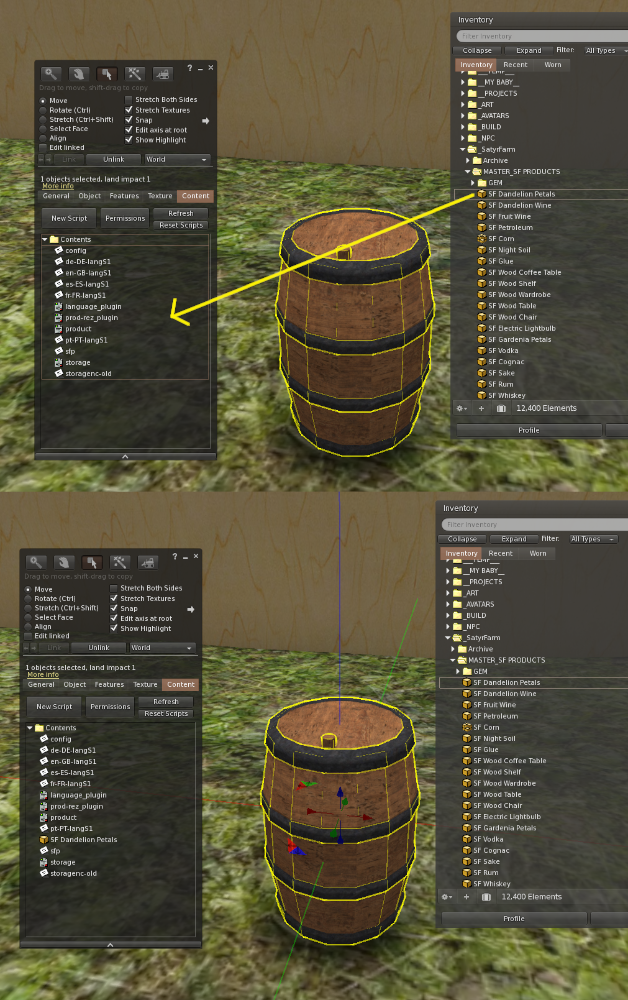
For now all we need to do is to drag our product item from our inventory into the storage barrels Contents. As an example, we have a dandelion petal product item that we wish to store, so we drag it from our inventory into the Contents area.
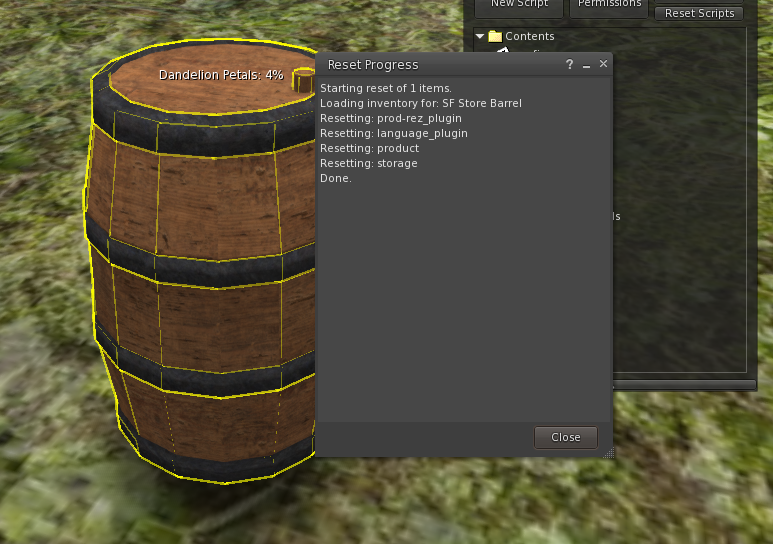
Once you have dragged the item over, click on the Reset Scripts button and you should see you now have a storage place for the Dandelion petals!
As well as the single item storage type that we have just made, we can make storage units that hold multiple items. There are two types we can make, the first shows the levels for all items in one block of float text. The second allows us to show multiple float texts for each item in the store.
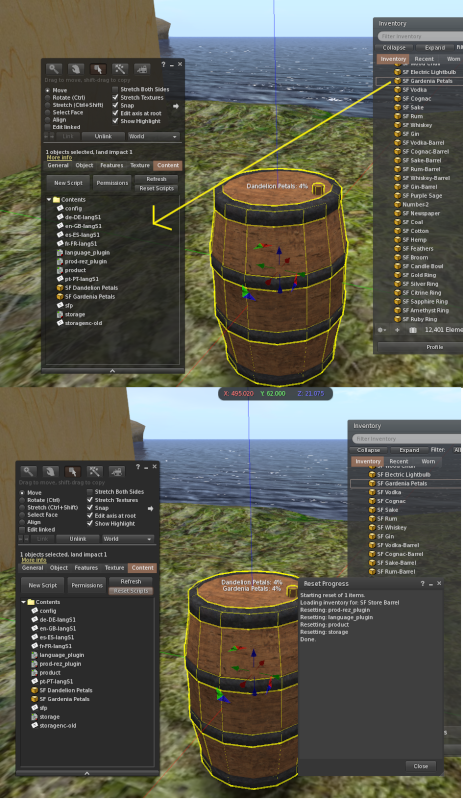
Let’s start with the single float text type first since all we need to do is to drag another product into the contents of our existing storage. As an example we will add gardenia petals to the store.
Right click and select edit and again go to the Contents tab and drag into it the new item (gardenia petals in our example) then click on the Reset Scripts button and you will see we now have a store for two items.
We can add as many items as we like to this kind of store but of course if we add a great many it may be hard to read from a large block of float text, plus also the number of characters in float text is limited so you may not get all items listed.
We can use another type of storage that allows us to have multiple float texts for each item – you have probably already seen some of the storage units that do this such as the SF Basic Storage and the SF Storage Rack.
Creating this type of storage follows the same process as we have already done, but with some additional steps.
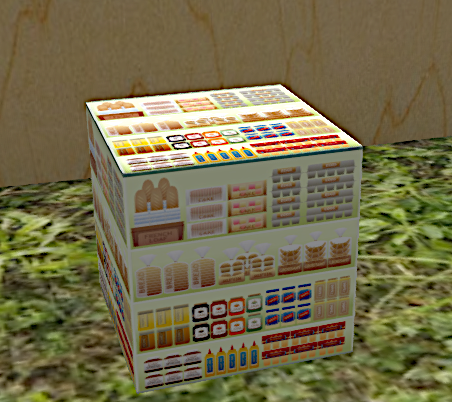
We will start with the SF Storage Template which is a simple cube that you can use as the starting point for your own designs.This is just an empty storage system so we can add products to it as before. For this example we will use the Dandelion and Gardenia petals again so we can see how this storage compares to the previous type.
The design of the storage system is very much up to you, but in this instance we will make a simple storage rack.
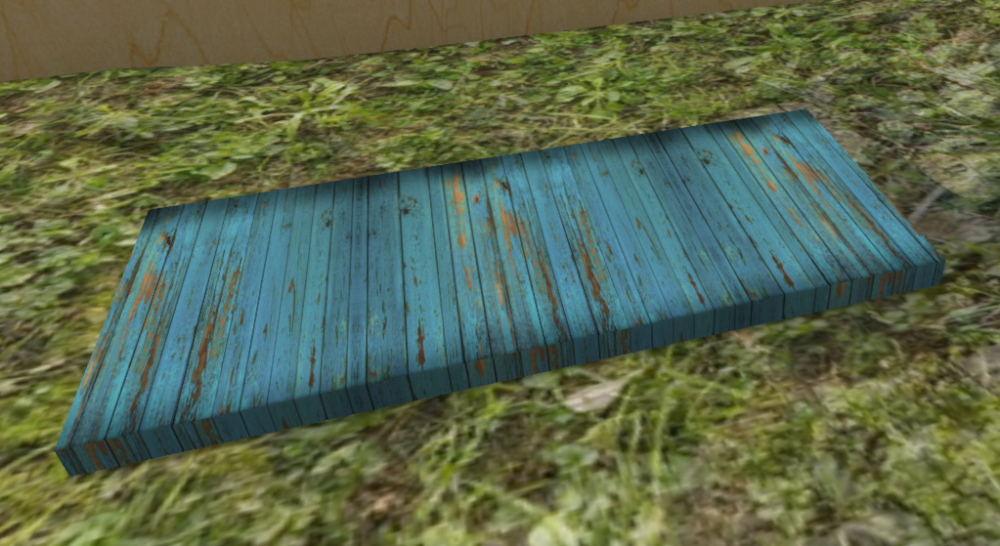
First we flatten the box to make a platform shape and we change the texture to a weathered wood.

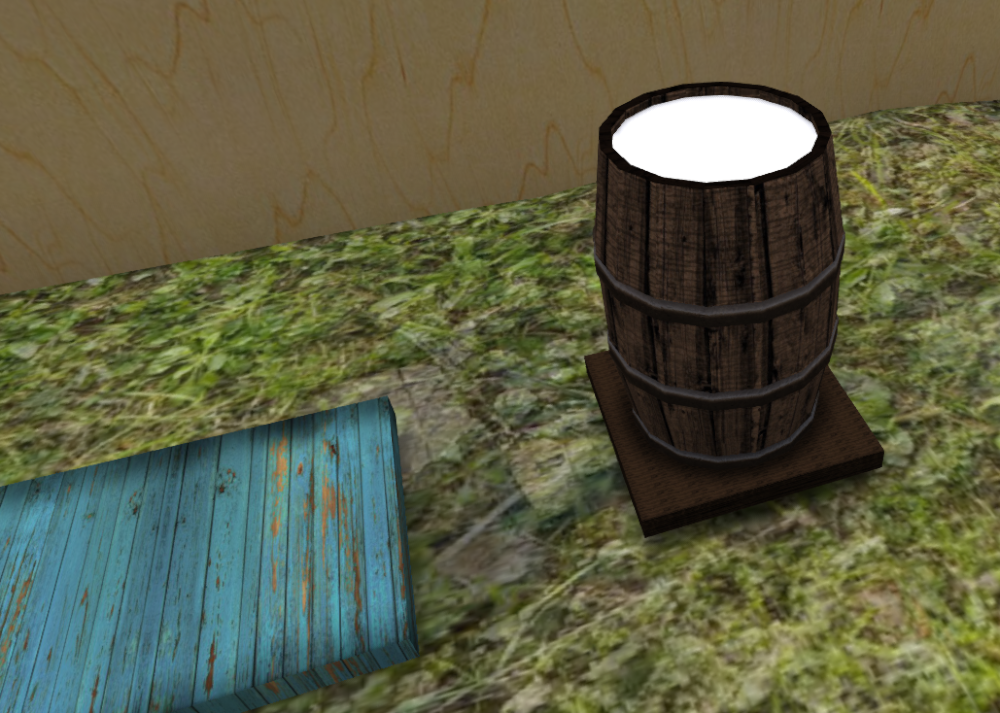
Now we need to add a prim to act as an indicator for the dandelion petals and another prim for the gardenia petals. For this we will start with one of the SF Store Barrels that has a texture level prim, but you can use any single prim that fits your design.
This Store Barrel already has all of the storage components in the base prim but as we already have a base to use we will unlinkthat prim from the barrel store. Since we want indicators for two products, we then make a copy of the barrel and position both barrels over our storage base.
We then link all the components making sure the base is the last prim to be linked (so it is the root prim)
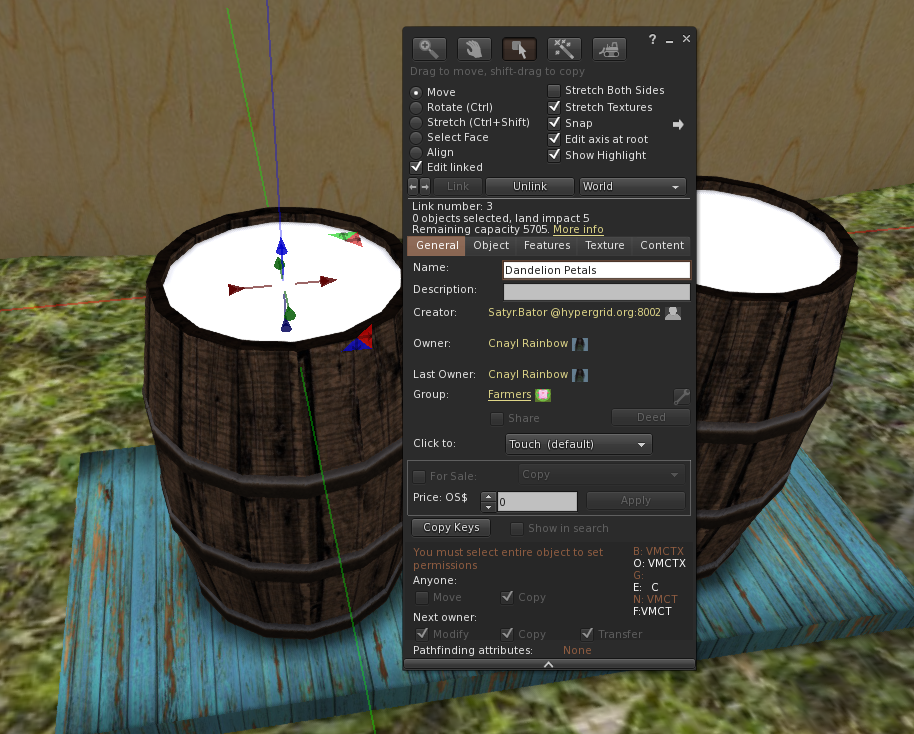
Now we need to set up the two prims that are going to be our level indicators. We set the Name of the prim that we wish to use for a level indicator to match the name of the product (minus the SF part) so in this example we will set one prim to be called Dandelion Petals and the other to Gardenia Petals.
As always, you must make sure the name and letter case exactly matches the product – for instance if we named one of the prims Dandelion petals then it wouldn’t work.
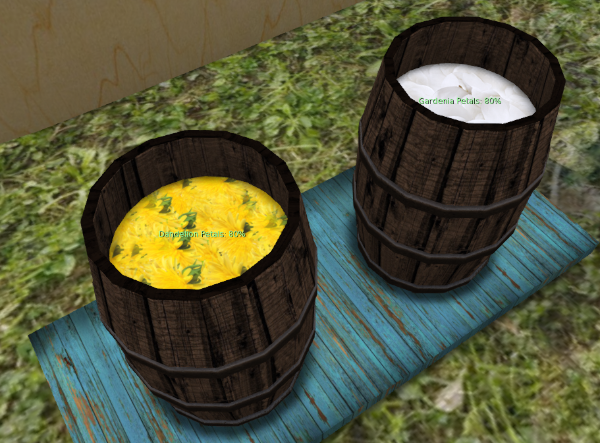
Now all we need to do is to add the SF Dandelion Petals and the SF Gardenia Petals to the Contents of out new storage unit. As soon as you do that you should see the level indicators for both products.
You can then change the textures from the blank white to something that matches your product.
If we want to go one step further, we can set up this storage unit so the indicator prims move up and down to reflect the actual product levels. To do this we need to calculate some numbers to put into the indicator prims Description
First make a note of the objects position – we only need the Z value
I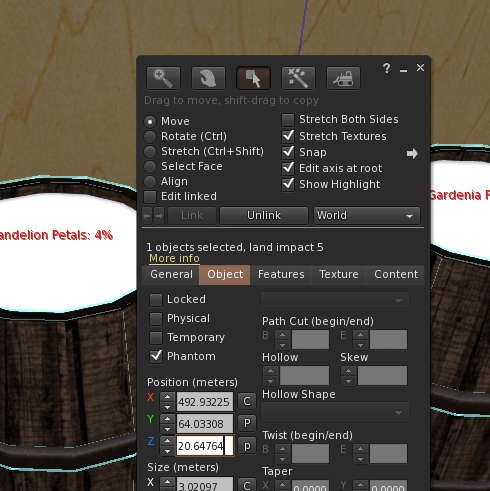 n our case it is 20.64764
Next we make a note of the indicator prims Z value for when it is showing us 0% and 100%
100% = 21.900
0% = 20.81450
Now we can work out the required values for the prim description
20.81450 - 20.64764 = 0.16686
21.900 – 20.64764 = 1.25236
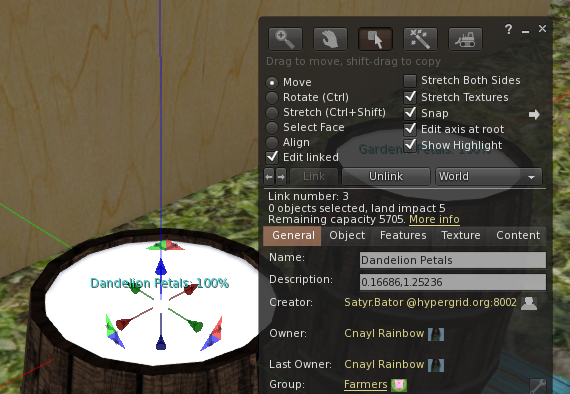
So now we just need to set the prim Description to 0.16686,1.25236
Since we are only interested in the Z movement we can use the same values for both prims.
To check it all works, edit the config notecard and first set the initial level to be 100%
INITIAL_LEVEL=100
Save the notecard and reset the scripts and you should see the 100% indication. Now edit the notecard again and this time set the level to be 0%
INITIAL_LEVEL=0
Now when you reset you should get the 0% position.
Edit the config notecard to put the INITIAL_LEVEL value to the value you want to use (the default is 4) and you are all ready to start storing things!
Naming your store
You can rename your new storage item to anything you wish, such as SF Petal Store
If you intend to use the products in this store in conjunction with the AutoFeed option on animal feeders you just need to update the config notecard in those to have the same name configured. Also you may wish to add it to the upgradeables notecard if you are using the SF Updater-Storage
Share mode
This allows other items, such as the exchange, to access the storage unit and take a copy of any item. When they do this it does not affect the storage level. It is useful way for things like the exchange to be able to extend the range of items they have on offer to include new products.
Floating text
By default, a store will show the levels of all products it contains as one floating text list. For stores that have many items this can get a bit hard to read so you may wish to add extra linked prims to have float text over each one showing the status of individual products. E.g. for SF Olives the linked prim named "Olives" is used to show the text about the current level of SF Olives. Note that the root prim will still show the levels of any stored products that do not have their own named prim in the link-set.
This is purely an aesthetic thing as nothing is stored in these extra prims.
Config Notecard settings
Probably the main config notecard item that you may need to adjust for your new store is the REZ_POSITION
# What level should storage start at when rezzed
INITIAL_LEVEL=4
#
# How much is taken/added on use
ONE_PART=2
#
# How many days before level drops 1 part
DROP_TIME=14
#
# What is the maximum this store can hold (100 gives stock levels in %, greater than 100 gives levels as e.g.  25/110 )
MAX_FILL=100
#
# ASC for ascending (A to Z) or DEC for descending (Z to A) sorting
SORTDIR=ASC
#
# Offset to rez item
REZ_POSITION=<0.0, 0.0, 1.5>
#
# How far to scan for items
SENSOR_DISTANCE=10
#
# Region product share. All shares with everyone,  Group only with same group, None  no sharing
SHARE_MODE=All
#
# Set to 1 to allow any member of the group to use the 'Add Stock' menu button, 0 to only allow owner
GROUP_STOCK_ADD=0
#
#Float text colour - set as color vector or use  OFF  for no float text
TXT_COLOR=<1.0, 1.0, 1.0>
#
# Brightness of text 1 to 10 (10 is maximum brightness)
TXT_BRIGHT=10
#
# Default language
LANG=en-GB
#
# Change this if your products don't start with 'SF'
SF_PREFIX=SF
To find out more about the storage system, refer to chapter 14